Configuring Stripe
SOLO Server's integrated eCommerce can use Stripe, a leading global payment processor trusted by millions of businesses worldwide, to securely process payments in your shopping cart and the Customer License Portal.
Why Use Stripe
- Checkout built into your cart. Customers pay in a Stripe payment form embedded in the SOLO Server shopping cart page, so they never leave your storefront. Your cart's design, the order summary, and the customer's details stay on screen throughout, which makes buying quicker and more familiar than being redirected to another site.
- Payment methods that fit each customer. Stripe automatically offers the payment methods that suit each customer's location, currency, device, and browser: all major credit and debit cards, digital wallets such as Apple Pay and Google Pay, and buy now, pay later options such as Klarna. You choose which methods to offer from your Stripe Dashboard, and new methods Stripe adds become available without any change to SOLO Server.
- Built-in fraud screening. Every Stripe account includes Stripe Radar, which screens each payment against signals from Stripe's global payment network.
- Card details stay with Stripe. Stripe collects and processes the payment details, so card data never passes through your SOLO Server account.
- Licenses delivered automatically. When the payment completes, SOLO Server issues the license and sends the customer their order and license details by email, just like any other order through the cart.
- Self-service renewals and upgrades. Existing customers can pay for renewals and upgrades with Stripe in the Customer License Portal, without contacting you.
Stripe does not yet support Payment Plans (automatic recurring billing). Support is planned for a future release.
Stripe Partner Connect
If you have a SOLO Server Shared / Custom URL account, you connect Stripe with Stripe Partner Connect. You do not need to create API keys, send keys to SoftwareKey, or set up a webhook, and you can connect a Stripe account you already have or create a new one during the process. If you use SOLO Server Dedicated URL or SOLO Server Self-Hosted, see Dedicated URL and Self-Hosted at the end of this topic.
- Contact SoftwareKey support to request the Stripe Partner Connect link for your account, and tell us the currency you want to charge your customers in, such as US dollars (USD), euros (EUR), or British pounds (GBP). Your shopping cart charges Stripe payments in that currency and does not convert your prices, so set your product prices in the same currency. The link includes your Author ID, which is how the Stripe account you connect is matched to your SOLO Server account, so do not share it outside your organization.
- Open the link. Stripe shows a page headed Select the account you'd like to connect to SoftwareKey.com.
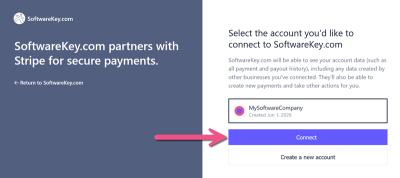
- Choose one of the following:
- Connect an existing Stripe account: select the account in the list, then click Connect.
- Create a new Stripe account: click Create a new account and follow Stripe's prompts to enter your business and bank details. Stripe collects these to verify your business and pay you out.
- After you click Connect, Stripe links your account to SoftwareKey.com and returns you to a confirmation page.
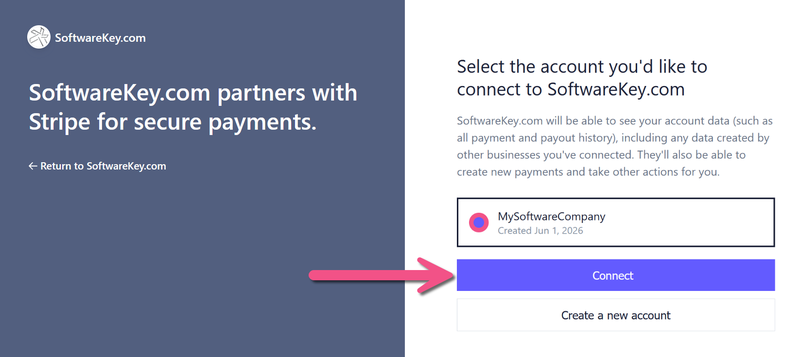
If the Connect button does not appear, finish creating your Stripe account, then open the link again.
SoftwareKey then completes the configuration of your SOLO Server account and emails you when your shopping cart is ready to accept payments through Stripe. Payments go to your own Stripe account and are paid out to your bank account on your normal Stripe payout schedule.
After You're Set Up
- Place a test order. Before you offer Stripe to customers, buy one of your products through your cart and confirm that the order completes and the license email arrives. With Stripe Partner Connect, use a real card and then refund the order. To keep the charge small, set up a Priority Code worth 1.00 less than the product's price, so you are charged 1.00 in your cart's currency. With SOLO Server Dedicated URL or SOLO Server Self-Hosted, you can use Stripe test mode instead, as described under Stripe Test Mode in the Dedicated URL and Self-Hosted section below, with the test cards listed in Testing Order Process.
- Refunds and voids. Refunding or voiding a Stripe order in SOLO Server updates your SOLO Server records only. Complete the refund or void in your Stripe Dashboard as well, so the customer is credited or not charged. See Issuing a Refund and Voiding an Order Before Settlement.
- Chargebacks. If a customer disputes a Stripe payment with their bank and wins the dispute, SOLO Server emails you so you can decide whether to change the customer's license. Respond to disputes from your Stripe Dashboard.
Dedicated URL and Self-Hosted
Stripe Partner Connect is not available for SOLO Server Dedicated URL or SOLO Server Self-Hosted. Instead, SOLO Server submits transactions to your Stripe account using API keys that you create in Stripe. Start by creating the keys, then follow the section for your setup.
 Creating Stripe API Keys
You need two API keys from Stripe: a restricted key and your publishable key.
- Log into Stripe.
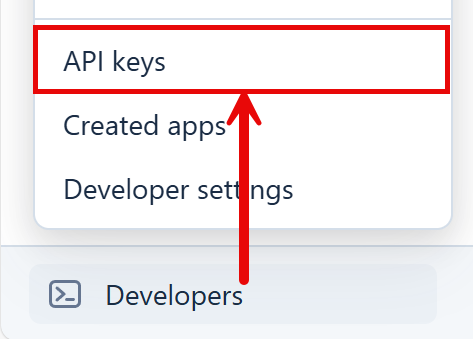
- On the left dashboard panel at the bottom, navigate to Developers / API keys.
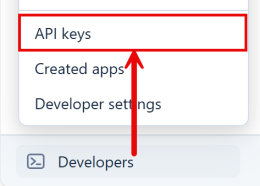
- On the Developers page, select the + Create restricted key button in the Restricted Keys section.

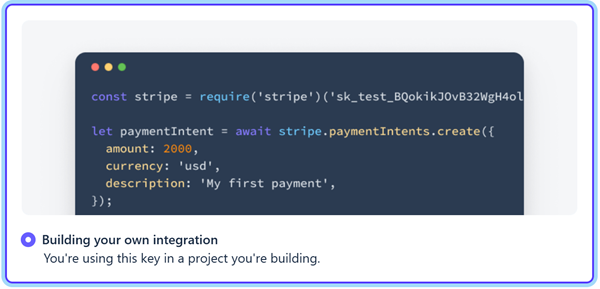
- Choose the option for Building your own integration.
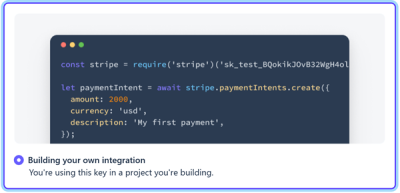
- For the Key name, enter: SOLO Server Merchant Account
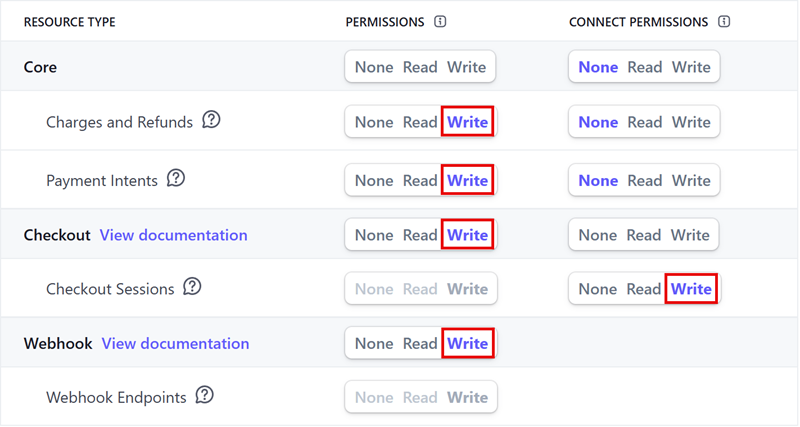
- Under the Permissions and Connect Permissions columns, update the following from None to Write:
Resource Type Permissions Connect
PermissionsCharges and Refund Write Payment Intents Write Checkout Write Checkout Sessions Write Webhook Write 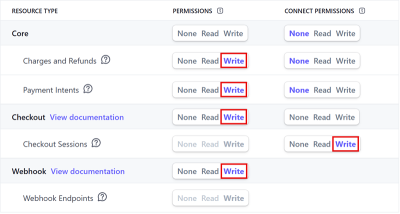
All other permissions should be kept as None.
- Select Create Key at the bottom of the page. Stripe may prompt you to verify your identity before the API key is created.
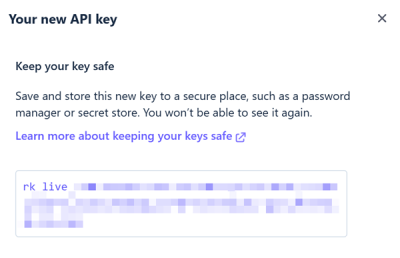
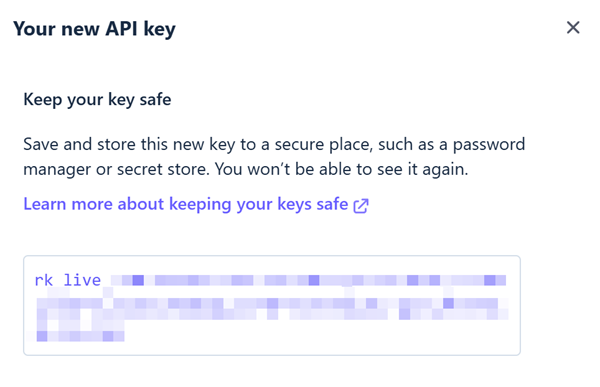
- You will then be prompted with your API restricted key (prefixed with rk_live). As instructed, save and store this new key to a secure place, such as a password manager or secret store.
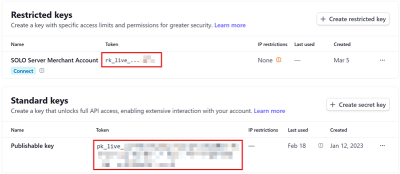
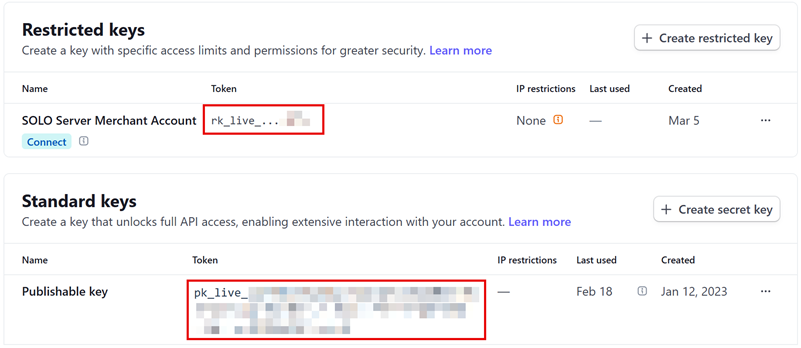
- Your new restricted key will be displayed on the API keys page, but note that it doesn't display the full key, which is why you must securely store it separately. The Publishable key (prefixed with pk_live) will be displayed.

 Dedicated URL: Sending Your Keys to SoftwareKey
If you use SOLO Server Dedicated URL, send your keys to SoftwareKey and we will add them to your SOLO Server account. Never send the restricted key in plain email.
- You can use Password Pusher to securely send your Restricted Key. The EU region is used for GDPR compliance.
- Go to https://eu.pwpush.com/
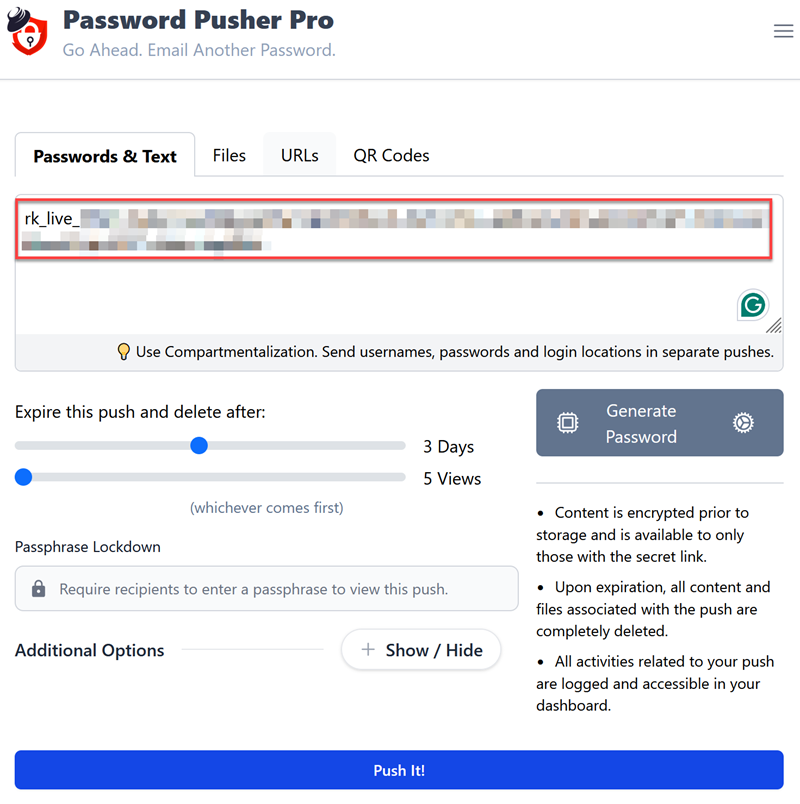
- In the Passwords & Text section, paste in your Restricted Key. The Allow immediate deletion option is on by default, which allows us to delete the push once we have received it.
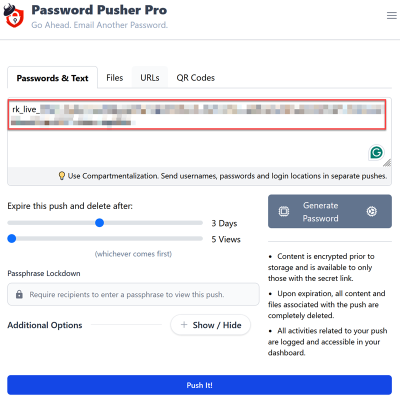
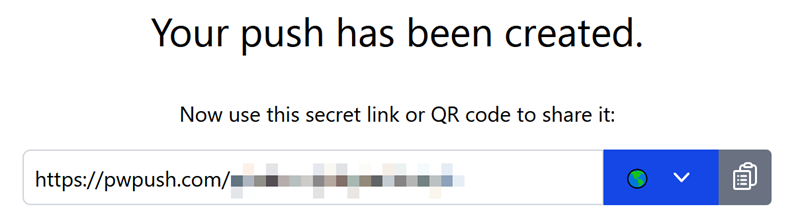
- Press the Push It! button to generate your unique link.
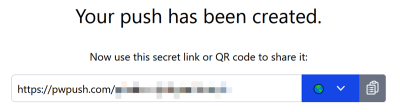
- Email that push link, your Publishable Key, the currency you want to charge your customers in (such as USD, EUR, or GBP), and your SOLO Server account company name or Author ID to support@softwarekey.com.
We will configure your SOLO Server account, including the Stripe webhook, and email you when it is ready to accept payments.
Self-Hosted: Adding Your Keys to SOLO Server
If you use SOLO Server Self-Hosted with the optional e-Commerce license, you add the keys to SOLO Server yourself. SOLO Server registers the webhook with Stripe for you, so you do not need to create it in the Stripe Dashboard.
- Log into SOLO Server as a Master User, using your server's public web address. The default URLs filled in below are built from the address in your browser, and Stripe must be able to reach them over the internet.
- Go to the menu Admin / Merchant Accounts and click the Add New button.
- Set the Type to Stripe, then click Populate Default URLs to fill in the Return URL and Webhook URL.
- Enter your Publishable Key (prefixed with pk_live) and, in the Secret Key field, your restricted key (prefixed with rk_live).
- Click Register/Update Webhook. SOLO Server creates the webhook in your Stripe account and fills in the Webhook Secret.
- Enter the Currency Code for the currency you want to charge your customers in, such as USD, EUR, or GBP. If it is left blank, customers are charged in US dollars. The cart does not convert your prices, so set your product prices in the same currency.
- Configure the remaining merchant account settings, including setting the Enabled checkbox to true, and then click Save.
- Go to the menu Admin / Account Options and click the Edit button.
- Set the Credit Cards Enabled checkbox to true.
- Change the Merchant ID drop-down to the Stripe merchant account you configured above (it will list the Display Name).
- Click the Save button.
Stripe Test Mode
You can toggle Stripe into Test mode if you want to generate API keys for test transactions.
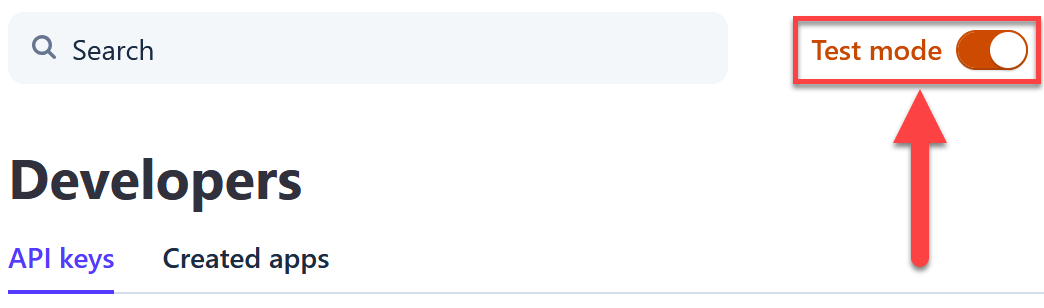
- The Restricted key will start with rk_test and will not be hidden
- The Publishable key will start with pk_test
With SOLO Server Dedicated URL, you can email both keys to support@softwarekey.com and we will configure your account to submit test transactions. With SOLO Server Self-Hosted, enter the test keys in your Stripe merchant account in place of the live keys, clear the Webhook Secret field, and click Register/Update Webhook, since Stripe keeps test and live webhooks separate. Do the same when you switch back to your live keys.
Your SOLO Server account can be configured to support test transactions or live transactions, but not both at the same time.